How to Talk About Your Style With Home Professionals
Use these checklists and ideas to help your designer understand the looks you love

When you’re preparing to work with a pro on a home project, whether it’s an architect, garden designer, interior designer or another design professional, communicating your preferences in a clear way can help them to understand exactly what you’re looking for – and deliver results you love.
By gathering inspiration and assessing your likes and dislikes, you’ll be better armed to have those crucial conversations. Get the details on this (fun) homework assignment below.
By gathering inspiration and assessing your likes and dislikes, you’ll be better armed to have those crucial conversations. Get the details on this (fun) homework assignment below.
Get visual
Designers’ work is highly visual, so it makes sense that the best way to communicate your likes and dislikes is through images. This keeps things clear.
For instance, if you think of “desert style” as being American southwestern with lots of natural wood and colourful textiles, but your designer is envisioning more of a Palm Springs midcentury desert look, conflict is inevitable. But when you can point to a photo and say, “I love this,” or “I really don’t like this look”, you and your design pro can quickly get on the same page.
Try this: Head to your Houzz profile page and create two new ideabooks: one for your love list and one for your not-for-me list.
Check out five ways ideabooks can help to bring your project together.
Include images that directly relate to your project
A good place to start collecting images for your likes and dislikes lists is with examples of the specific type of project you’re planning.
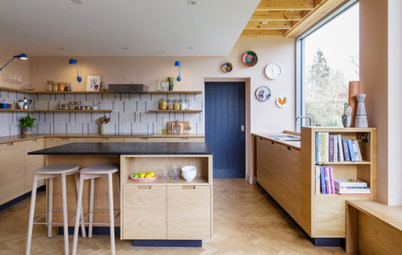
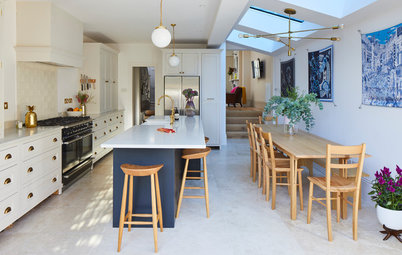
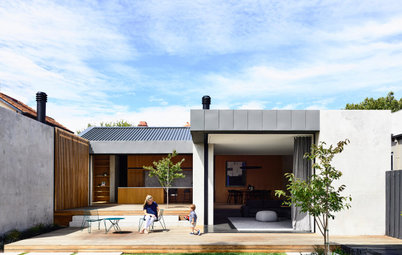
If you’ll be working with a garden designer or landscape architect, for instance, search for photos of landscapes. Hiring an architect for a home renovation or new-build project? Seek out photos of exteriors and whole-house designs. If you’re redesigning your kitchen, search for kitchen photos, and so on.
A good place to start collecting images for your likes and dislikes lists is with examples of the specific type of project you’re planning.
If you’ll be working with a garden designer or landscape architect, for instance, search for photos of landscapes. Hiring an architect for a home renovation or new-build project? Seek out photos of exteriors and whole-house designs. If you’re redesigning your kitchen, search for kitchen photos, and so on.
Include some less on-topic photos, too
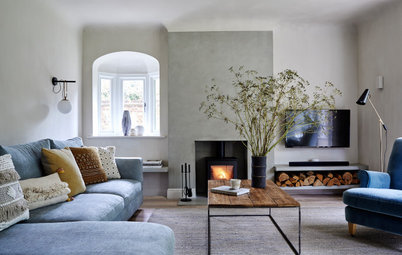
Don’t be afraid to add in a few images that don’t directly relate to the type of project, but are nevertheless a good example of a specific style you love – or hate, as the case may be.
Lifestyle, food and garden images can be wonderful examples of colour palettes and can give your design pro a better handle on your overall style than project photos alone.
Practice being picky
When you first start filling those ideabooks with photos, allow yourself free rein to choose as many images as you want. Have fun with it! But when you’re ready to go back in for a second look, it’s time to get picky. Aim to whittle down each list to the top 10 to 20 best examples.
Not only will this give your design pro a more manageable number of images to examine, it will give you practice making design-related choices. The more you flex that design muscle, the easier it will be to talk about your likes and dislikes.
Get specific
Once you have your two curated ideabooks – one of looks you love, and one of looks that are not for you – it’s time to make those lists even more useful.
Being able to point to an image you love or hate is helpful, but confusion and miscommunication can still arise if you don’t specify exactly what it is about the space that you like or don’t like. You might be thinking about the colour palette, but your designer might focus on the furniture style – and they won’t know if you don’t tell them!
Try this: Add a note beneath each photo in your ideabook that explains in words exactly what it is about the space that made you include it. We’ll look at some specific examples of language to include next.
Use the following checklists as a guide, and see how many you can include in your own lists.
‘Love List’ checklist
‘Love List’ checklist
- Favourite colour or colours
- Colour palette or combination of colours that appeals to you
- Furniture you love
- A room where you love the mood or general vibe
- If you’re looking at architecture, a house or overall space that appeals to you
- If you’re looking at landscapes, a complete garden that captures the general feeling you’re after
- Specific features you definitely want to include
‘Not-for-me List’ checklist
- Specific colours or shades to which you have a strong aversion
- Motifs or finishes that are not your cup of tea
- Pet peeves
- Colour combinations that you don’t enjoy
- A room where you don’t like the overall mood or vibe
Play ‘Name that style’
Take one more look at your love list and see if you notice a theme. Is there one clear style taking the lead? There’s no right or wrong answer here, but if you do notice a trend emerging, that could be a good starting place for your initial conversations with your design pro.
Try this: Click on the first photo in your love list ideabook. Check the photo information and note which style is listed. Go through each photo in your ideabook and repeat this process. Do you see a theme in terms of style?
Don’t worry if you’re still stumped
If you’ve got this far, you deserve a huge pat on the back. It’s not easy to pin down your style – and remember, you don’t have to completely nail it. Your design pro is there to walk you through this process. But the more thought you’ve put in on the front end, the easier it will be for you and your designer to have a fruitful working relationship.
To that end, if you’ve gone through these exercises and are still having trouble figuring out your style, you might want to think laterally. Are there any restaurants, brands or shops that exemplify your loves and hates? As long as the places you’ve chosen are ones your designer is familiar with (or can easily find images of), this can be a helpful addition to your style information.
Trust your designer
Finally, remember that, although it’s important to be able to communicate your preferences to your designer, it’s equally important – once you’ve made your initial thoughts and feelings clear – to step back and trust them to come up with some creative ideas that you would never have thought of on your own.
Will they all be things you love? Perhaps not, and you can always work to get to a place you love. But then again, you might just surprise yourself by loving something you never thought you would, thanks to your designer’s vision.
Tell us…
Have you worked with a design pro you loved? Share what made the experience work well for you in the Comments.


Patrocinado
Volver a cargar la página para no volver a ver este anuncio en concreto

Patrocinado
Volver a cargar la página para no volver a ver este anuncio en concreto
You may have already heard that it’s a good idea to gather images and ideas of things you love when you’re preparing to meet with a designer – and we’ll examine that in more detail next. But have you considered making a list of the things you don’t like? Perhaps surprisingly, those dislikes can be just as important.
Seattle-area interior designer Maggie Stephens of Maggie Stephens Interiors says, “I wish I could read minds – but I can’t. The best designs come from open communication about likes, dislikes and full understanding of a client’s needs.”
Find a home pro near you on Houzz.