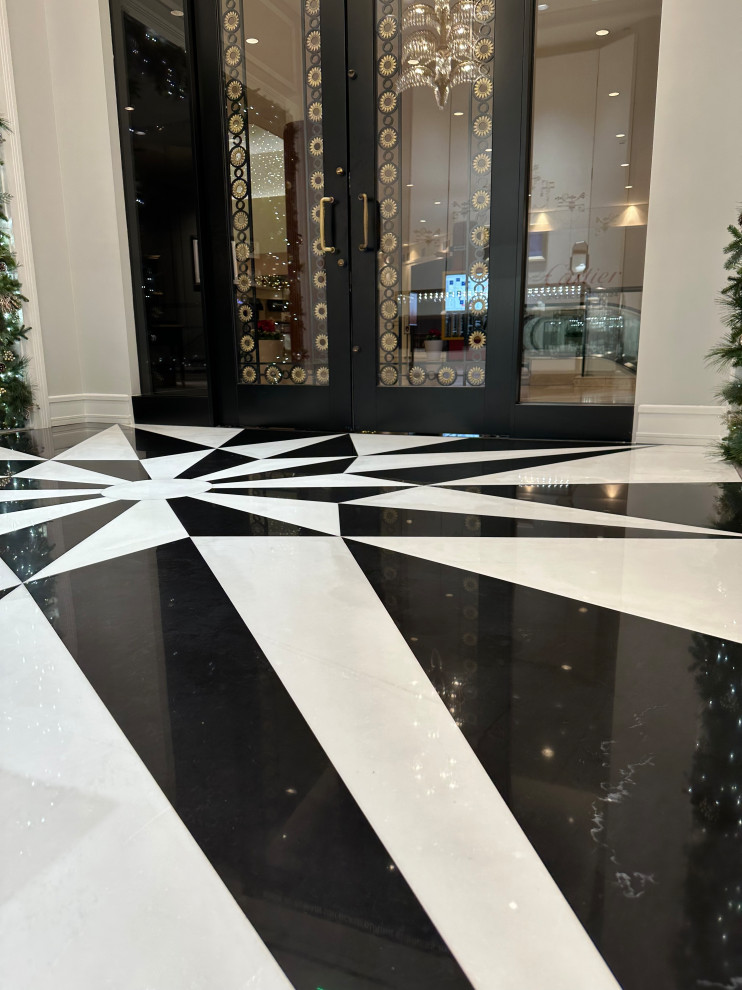

Marble Floor Restoration
.1. Surface Protection:
Begin by carefully protecting all sensitive areas surrounding the marble surfaces to prevent any unintended damage during the restoration process. This may involve covering adjacent surfaces, walls, or fixtures.
2. Grinding to Remove Stains & Scratches:
Employ precision grinding techniques to address stains and scratches on the marble surface. This step involves the use of specialized tools and abrasives to level the surface and eliminate imperfections.
3. Polishing to a High Sheen:
Follow the grinding phase with a meticulous polishing process. Utilize progressively finer polishing compounds and pads to enhance the marble's natural shine, achieving a high-gloss finish. This step not only minimizes scratches but also brings out the inherent beauty of the stone.
4. Sealing with 2 Coats of Sealer:
Seal the restored marble surfaces with two coats of high-quality sealer. The sealer creates a protective barrier, guarding against future stains and damage. Ensure even and thorough coverage to maximize the effectiveness of the sealer.
This straightforward process outlines key steps to rejuvenate marble surfaces, addressing both aesthetic and protective aspects. It's a systematic approach that combines precision in addressing imperfections with a focus on enhancing the overall appearance of the marble.